
Best Tools for Cutting LVP Stair Nosing (and What Not to Use)
What Cutting Stair Nosing Actually Demands
Cutting flat vinyl plank and cutting a stair nose are different problems, and most tool advice conflates them.
A flat plank is thin, uniform, and forgiving. Score it, snap it, and any raggedness disappears under the next plank or a piece of trim. A stair nose is thicker, has a formed profile with a curved or squared lip, and — this is the part that matters — its cut end is often visible at eye level on an open-sided stair, permanently, in daylight.
So the honest answer to "what is the best tool for cutting LVP stair nosing" is: a miter saw with a high-tooth-count fine-finish blade, for the straight crosscuts that make up most of the work. Everything else on this page exists to handle the cuts that tool cannot make, or to help you make that cut accurately.
If your stairs are open-sided or your treads are out of square, read the measurement guide before buying anything — the measuring problem usually turns out to be bigger than the cutting problem.
Tool Comparison
| Tool | Best for | Pros | Limitations |
|---|---|---|---|
| Miter saw | Square and angled crosscuts on noses and treads | Repeatable angles, clean edge with the right blade, fast across many identical cuts | Straight cuts only; crosscut capacity may not span a wide tread; needs the right blade |
| Table saw | Ripping a tread or riser narrower along its length | The only practical way to reduce width accurately | Poor at crosscutting long trim; a formed nose profile will not sit flat on the table |
| Circular saw | Rip cuts when no table saw is available | Portable, cheap, handles wide material | Needs a clamped straight edge; cuts on the upstroke, so the visible face should point down |
| Jigsaw | Notches, curves, newel post cutouts | Reaches shapes no other saw can | Blade wanders in thick material; needs a down-cut blade to protect the top face |
| Oscillating multi-tool | Undercutting door casing, trimming in place | Works in trapped spaces nothing else reaches | Slow, and it will not produce a clean long straight edge |
| Utility knife | Scoring and snapping flat plank; trimming | No dust, no power, no noise | Not for formed stair noses unless the maker says the piece can be scored |
| Manual flooring cutter | Repeat straight cuts in flat plank | Fast, dust-free, quiet enough for occupied homes | Thickness-limited; many will not take a formed nose profile at all |
The Saws
Miter saw
The workhorse. A stair nose is essentially a piece of trim, and a miter saw is the tool trim is cut with. It gives you a repeatable fence, a repeatable angle, and a cut square in both planes at once — which matters because a nose that is square across the face but tilted through its thickness will show a gap against the riser.
Support the piece along its full length rather than letting it overhang, and cut slowly. Rushing produces heat, and heat on a vinyl wear layer produces a melted edge that no amount of sanding will fix.
Table saw
Reach for this only when you need to make a piece narrower along its length — a tread cut down to fit a shallower step, or a riser panel ripped to height. That is a genuine need and the table saw is genuinely the right tool for it.
It is the wrong tool for crosscutting a stair nose. A formed profile does not sit flat on the table, so it rocks, and a rocking workpiece near a spinning blade is how people get hurt.
Circular saw
Relevant mainly when there is no table saw on site. With a clamped straight edge it will rip a tread accurately enough. Two things to remember: a standard circular saw blade cuts on the upstroke, so the finished face should point down, and the cut needs a guide — freehand on a visible stair edge is not worth attempting.
Jigsaw
The specialist. Newel posts, curved bullnose returns, radiused landings, and the notch where a tread meets a stringer are all jigsaw work. Use a down-cut blade so the teeth pull toward the material instead of tearing out of the visible face, and clamp the piece firmly — down-cut blades push the work upward as they cut.
Oscillating multi-tool
Not a cutting tool for stair pieces so much as a tool for making room for them. Undercutting a door casing so a tread can slide beneath it is the classic use. Slow and imprecise for anything long, invaluable for anything trapped.
Utility knife and manual flooring cutter
Both belong to flat plank work. A sharp knife scores and snaps plank cleanly and is indispensable for trimming and for opening boxes without gouging what is inside them. A manual flooring cutter does the same job faster and without dust, which matters in an occupied house.
Neither is a stair nose tool. Some thin, unformed nosing can be scored, but check what the manufacturer actually says before assuming yours is in that category.
Blades Matter More Than the Saw
A mid-range miter saw with the right blade will out-cut an expensive saw with the wrong one. The variable is tooth count: more teeth remove less material per tooth, generate a finer edge, and tear the printed wear layer less.
The stock blade shipped with most miter saws is a general-purpose framing blade with a low tooth count. It is designed to remove wood quickly, which is close to the opposite of what a visible vinyl edge needs. Budget for a fine-finish blade separately and treat it as part of the cost of the saw.
Two blade habits worth adopting:
- Tape the cut line. A strip of painter's tape over the cut supports the wear layer at the moment the blade exits, which is where chipping happens.
- Cut a scrap first, every time. Blade, material, and speed interact differently on every job. One test cut costs a minute and reveals melting, chipping, or a fence that has drifted.
Tools That Are Wrong for This Work
Naming these matters as much as naming the right ones, because each is a plausible-looking mistake:
- Framing or demolition blades. Built to remove material fast. On a stair nose they chip the edge and can melt the wear layer.
- Angle grinders. Generate enough heat to deform vinyl before they finish the cut, and offer no control on a straight line.
- Reciprocating saws. A demolition tool. Fine for tearing out an old staircase, wrong for anything that will be visible afterwards.
- A table saw for crosscutting trim. Covered above, and worth repeating because it is the most common dangerous improvisation on this list.
- A dull utility blade. Not a different tool but the same tool failed. A blade that tears rather than cuts will ruin a plank and slip while doing it.
- A miter saw for a rip cut. People try. The workpiece has nothing to register against along its length, and it will bind.
Measuring and Marking
Cutting accuracy is bounded by measuring accuracy, and stairs are rarely as regular as they look.
Measure every tread individually. Older staircases in particular drift — a flight can vary by half an inch end to end. One measurement carried across thirteen treads produces thirteen slightly wrong pieces.
A combination square transfers a square line across the face and edge of a nose in one motion, and its sliding rule doubles as a depth gauge for checking that the nose overhang is consistent step to step.
A stair tread template or contour gauge earns its place on any staircase where the walls are not parallel. It copies the actual shape of the opening rather than asking you to infer it from two numbers, and it is the difference between one cut and three.
A straight edge is the reference for any guided cut and for checking whether a tread is flat before you commit to a piece that assumes it is.
Painter's tape does double duty: chip prevention across the cut line, and a markable surface that does not require scoring the finish with a pencil or knife.
Holding the Work
The most underrated item on this list is a pair of clamps.
An unsecured stair nose vibrates against the blade. That chatter is the direct cause of most chipped edges, and it is also how hands end up near a moving blade trying to steady something that should have been clamped. Use padded jaws or a scrap block against finished faces so the clamp itself does not mark the piece.
Tape has a role here too, holding a template in position or bundling offcuts so they do not shift mid-cut.
Safety, Specifically
Generic safety advice is easy to skip, so here is only what is specific to this material and these cuts:
- Vinyl dust is fine and airborne. It behaves differently from wood dust, staying suspended longer. Cut outside or at a door where you can, and wear a fitted mask rather than a loose one — this matters more with rigid SPC cores than with flexible plank.
- Cut-offs are small and the blade guard tempts you. Short pieces are exactly the ones people hold by hand. Clamp them or use a hold-down; never reach past a spinning blade for a piece you can retrieve after it stops.
- Melted vinyl grabs the blade. If a cut starts to smoke, stop rather than pushing through. Heat welds the kerf shut behind the blade and can bind it.
- Eye protection for vinyl chips. They come off harder and sharper than wood shavings and travel further.
- A rocking workpiece is the warning sign. If a piece will not sit flat and stable, you are using the wrong tool for that cut. Change the setup rather than compensating with grip.
Working Sequence
- Measure each tread individually and record the numbers against a step number.
- Template anything that is not a simple rectangle.
- Mark the cut, then tape over the line.
- Cut a scrap piece at the same setting to check for chipping or melting.
- Cut the real piece, finished face oriented for the tool you are using.
- Dry-fit before any adhesive is opened.
Step six is the one people skip. Dry-fitting the whole flight before bonding anything catches an accumulated error while it is still cheap to fix — and once fit is confirmed, the adhesive guide covers matching a product to your substrate and the installation guide covers the sequence from prep through cure.
Before You Cut Anything
Every cut here assumes you have the right piece to cut. If you are still deciding between nose-only trim and full tread coverage, the comparison of stair noses and tread kits settles that first, because it changes what you buy and how much of it.
And if the piece itself is the problem — no factory nose for your color, or one that does not match — find your stair match by entering your flooring brand and color, or start from your brand hub: Lifeproof, Smartcore, NuCore, or any other brand. A perfectly cut piece in the wrong color is still the wrong piece.
Saws and cutters
Recommended Tools
Which of these you need depends on the cuts your staircase actually requires. A miter saw covers most stair-nose work; the rest handle what it cannot reach.
Affiliate disclosure: Some links here are affiliate links marked "paid link". If you buy through one, StairMatch may earn a commission at no additional cost to you. As an Amazon Associate, StairMatch earns from qualifying purchases. Products are chosen on availability and how clearly their labels state compatibility - not on commission, and placement is not sold. Full disclosure.
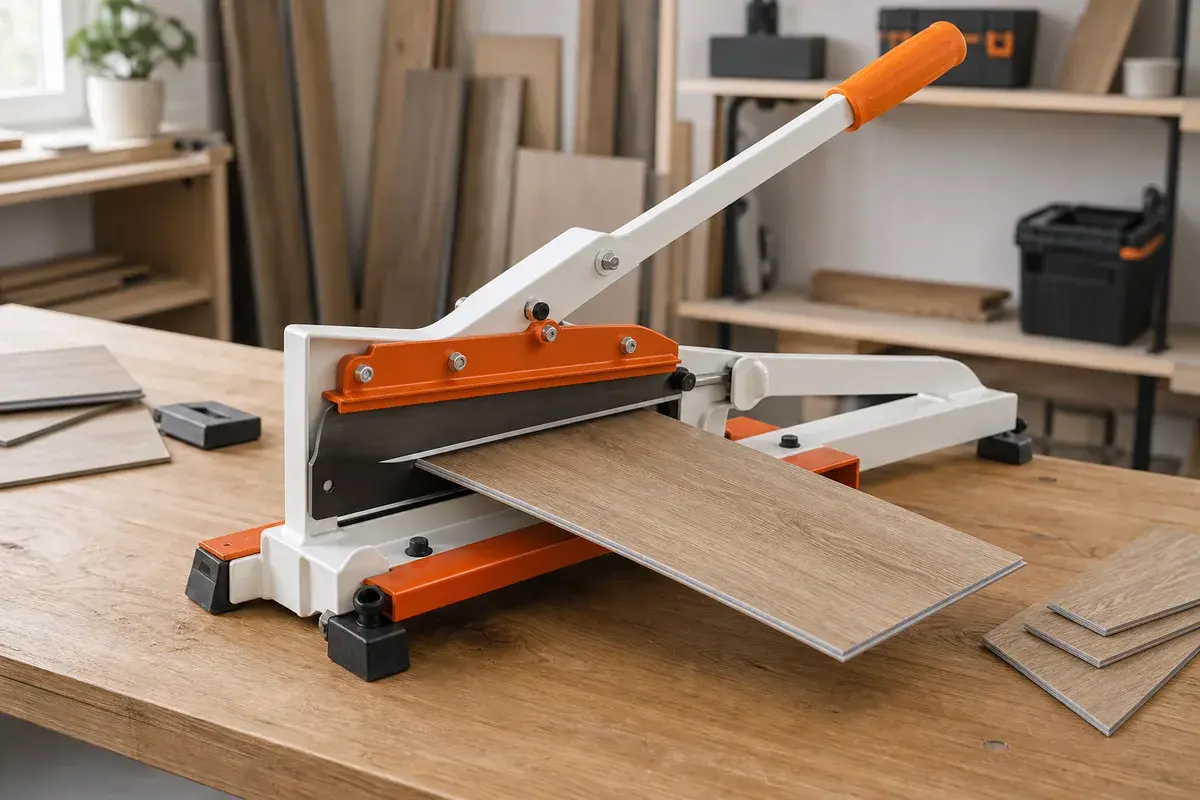
For repeated straight cuts
NAACOO 13-inch manual vinyl plank cutter
Paid link
A manual cutter option for flat LVP, LVT, laminate, and similar flooring. Confirm the listing thickness limit and your material before buying; formed stair-nose profiles may still require a saw.
Pricing is shown at the retailer.
Original category illustration. See the listing for current product photos and specifications.
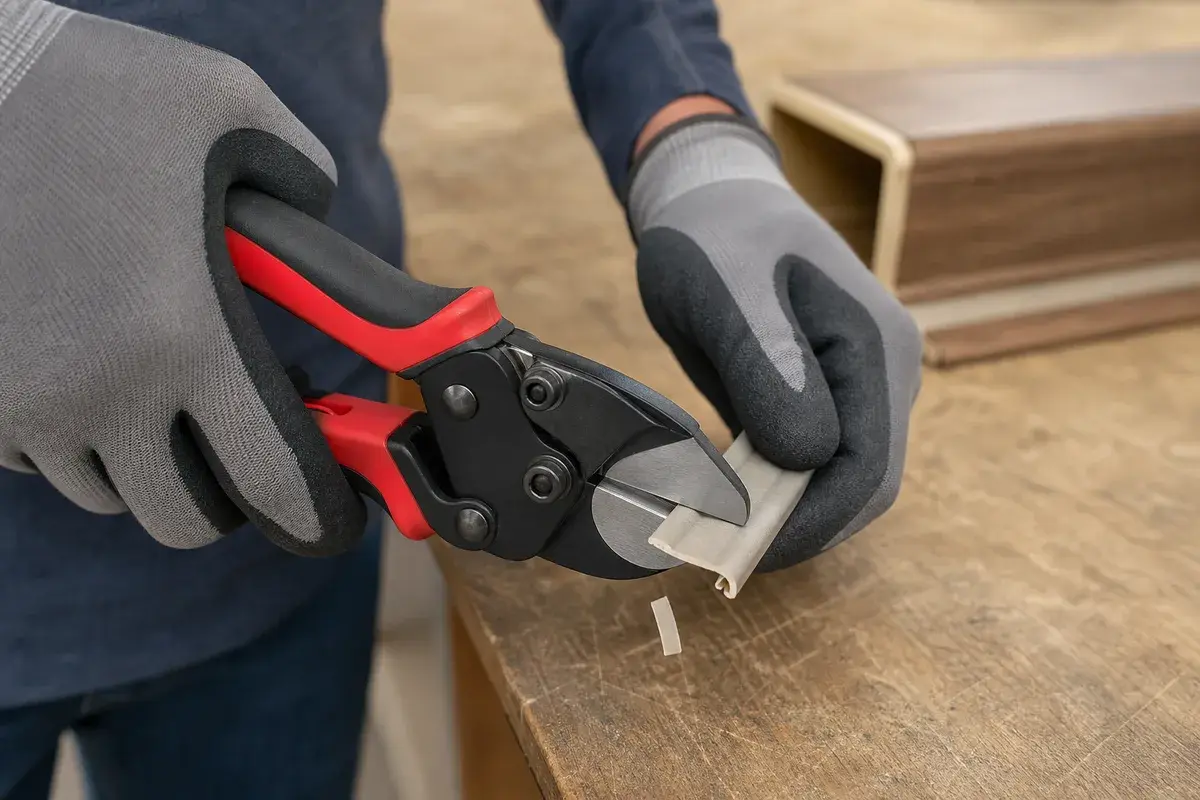
For small trim and detail cuts
Ronan Multi-Cut hand cutter
Paid link
A compact hand-cutter option for compatible vinyl or plastic detail work. It is not intended for full-width plank cuts or every thick, rigid stair-nose profile.
Pricing is shown at the retailer.
Original category illustration. See the listing for current product photos and specifications.
Primary saw for stair noses
Sliding compound miter saw
The most repeatable way to crosscut a stair nose square, and the only practical way to hold a consistent angle across a dozen identical cuts.
Check first: Check the crosscut capacity against your widest tread piece, and budget separately for a fine-tooth blade - the stock blade is rarely the right one.
Pricing is shown at the retailer.
Notches and curves
Variable-speed jigsaw with orbital control
Handles the cuts a miter saw cannot reach: newel post notches, curved nosing returns, and anything that is not a straight line.
Check first: Variable speed matters more than power here. Vinyl melts at high blade speeds, and orbital action should be switchable off.
Pricing is shown at the retailer.
Undercuts and trapped cuts
Oscillating multi-tool
Paid link
For undercutting door casing and trimming in place where no other saw fits. A finishing aid rather than a primary cutting tool.
Check first: Confirm the blade mount matches the accessories you plan to buy - proprietary mounts still exist alongside the universal standard.
Pricing is shown at the retailer.
Scoring flat plank only
Heavy-duty utility knife and hook blades
For score-and-snap cuts in flat plank and for trimming. Not a tool for a formed stair nose profile.
Check first: Buy far more blades than you think you need. A dull blade tears the wear layer instead of cutting it.
Pricing is shown at the retailer.
Recommended Blades
The blade decides edge quality more than the saw does. Stock blades are general-purpose and are not what a visible vinyl edge needs.
| Option | Best for | Check before buying | Where |
|---|---|---|---|
| High-tooth-count fine-finish miter saw bladePaid link | Cleanest crosscuts | Match the blade diameter and arbor to your saw, and check that the listing names plastics, laminate, or non-ferrous work rather than framing. | View at Amazon (paid link) |
| Down-cut jigsaw blades for laminate and vinyl | Chip-free top face | Confirm the shank type fits your saw, and note that down-cut blades push the work upward - clamping becomes more important, not less. | View at Home Depot |
| Oscillating multi-tool blades for wood and plastic | Undercutting | Check mount compatibility, and prefer a blade rated for plastics as well as wood if it will touch the vinyl at all. | View at Lowe's |
Affiliate disclosure: Some links here are affiliate links marked "paid link". If you buy through one, StairMatch may earn a commission at no additional cost to you. As an Amazon Associate, StairMatch earns from qualifying purchases. Products are chosen on availability and how clearly their labels state compatibility - not on commission, and placement is not sold. Full disclosure.
Useful Installation Accessories
Measuring, marking, and holding the work. These change accuracy and safety more than upgrading the saw does.
| Option | Best for | Check before buying | Where |
|---|---|---|---|
| Combination squarePaid link | Marking square cuts | A square that is not actually square is worse than none. Check it against a known edge before trusting it. | View at Amazon (paid link) |
| Stair tread template or contour gaugePaid link | Out-of-square stairs | Check the working width covers your widest tread, and that it locks firmly enough to survive being carried to the saw. | View at Amazon (paid link) |
| Quick-release bar clamps | Holding work while cutting | Pads matter on finished material. Bare metal jaws mark a wear layer. | View at Home Depot |
| Aluminum straight edge or cutting guide | Guided cuts | Longer than your widest cut, and rigid enough not to bow when clamped at both ends. | View at Lowe's |
| Painter's tape | Chip prevention and marking | Low-tack on finished surfaces. Aggressive tape can lift a printed layer when removed. | View at Home Depot |
| Tape measure with a locking bladePaid link | Measuring | A standing blade helps when you are measuring a tread alone with no second pair of hands. | View at Amazon (paid link) |
Affiliate disclosure: Some links here are affiliate links marked "paid link". If you buy through one, StairMatch may earn a commission at no additional cost to you. As an Amazon Associate, StairMatch earns from qualifying purchases. Products are chosen on availability and how clearly their labels state compatibility - not on commission, and placement is not sold. Full disclosure.
Frequently Asked Questions
Products Mentioned in This Article
Related Articles
LVP Stair Installation Tool Checklist: What to Buy Before You Start
Before you install LVP on stairs, make sure you have the right measuring, cutting, adhesive, and safety tools ready.
How to Measure for LVP Stair Nosing (Step-by-Step)
Getting the right stair nose length starts with an accurate measurement. Here is exactly what to measure and how to choose the right length.
Best Adhesive for LVP Stair Nosing: What Actually Holds
The right adhesive depends on your substrate, your stair-nose material, and the manufacturer instructions — not on which tube is best known. Here is how to read all three.